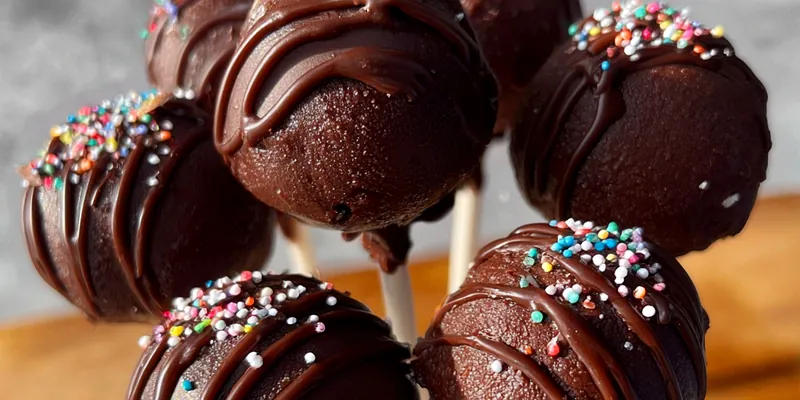
Chocolate Cake Pops
Rich chocolate cake pops with smooth chocolate coating on sticks. Perfect for parties, gifts, or special occasions. Easy step-by-step recipe with decorating tips.

The Art of Perfect Cake Pops
Creating professional-looking cake pops requires understanding the balance between cake and frosting, proper chilling techniques, and smooth coating methods. The key is achieving the right consistency in your cake mixture - moist enough to hold together but not so wet that it falls off the stick.
Temperature control is crucial throughout the process. Cold cake balls and properly tempered chocolate coating prevent cracking and ensure smooth, glossy results. Taking time at each chilling stage results in cake pops that look bakery-perfect.
💡 Professional Tip
Always chill your formed cake balls before dipping sticks, and chill again after inserting sticks. This prevents the cake pops from falling off during the final chocolate coating step.
Frequently Asked Questions
Cracking usually happens when there's a temperature difference between cold cake balls and hot chocolate. Let cake balls sit at room temperature for 5-10 minutes before dipping, and ensure chocolate isn't too hot.
Absolutely! Any moist chocolate cake recipe works. You'll need about 4 cups of crumbled cake. Dense, moist cakes work better than light, airy ones.
Store in refrigerator for up to 1 week or freeze for up to 3 months. Bring to room temperature before serving for best taste and texture.
High-quality chocolate chips with a little coconut oil work well, or use almond bark. Avoid regular chocolate bars as they don't set as firmly.
This happens when cake balls aren't chilled enough or when you skip dipping the stick in chocolate first. Always chill between steps and use the chocolate 'glue' method.
Yes! Make them as chocolate cake truffles instead. Roll in cocoa powder, chopped nuts, or decorative sprinkles after the chocolate coating sets.
Tap the stick gently on the bowl edge to remove excess chocolate, then slowly rotate the cake pop. Don't swirl it in the chocolate - this creates streaks.
Yes, but use oil-based flavorings only. Water-based extracts will cause the chocolate to seize. Add flavoring sparingly - a little goes a long way.
Recipe Troubleshooting Guide
Cake Pops Falling Apart
Problem: Cake mixture is too dry and won't hold together
Solution: Add more frosting gradually, 1 tablespoon at a time, until mixture binds when squeezed. The cake may have been overbaked or too dry to start.
Coating Too Thick
Problem: Chocolate coating is too thick and clumpy
Solution: Add more coconut oil or shortening to thin the chocolate. Heat gently and stir until smooth. The consistency should coat a spoon but drip off easily.
Uneven Shapes
Problem: Cake balls are lopsided or irregular
Prevention: Use a cookie scoop for uniform portions, roll gently between palms, and chill between steps. Don't overwork the mixture as it will become too soft.
Chocolate Seizing
Problem: Chocolate becomes grainy and thick
Recovery: This happens from water contact or overheating. Start with fresh chocolate, ensure all utensils are completely dry, and heat gently in short intervals.
Decorations Won't Stick
Problem: Sprinkles or decorations fall off when chocolate sets
Prevention: Add decorations immediately after dipping while chocolate is still wet. Press gently to adhere, and chill to set quickly.
Flavor Balance Issues
Too Sweet: Use less frosting or add a pinch of salt to the cake mixture
Too Salty: This is rare, but add more frosting or a touch of vanilla
Bland: Add vanilla extract to cake mixture or use flavored frosting

Selecting Quality Ingredients
The foundation of great cake pops starts with moist, flavorful cake. While boxed cake mix works beautifully and provides consistent results, choose a quality brand for the best flavor. The frosting acts as both binding agent and flavor enhancer, so don't skimp on quality here either.
For the coating, candy melts are designed specifically for dipping and provide the smoothest finish, but high-quality chocolate chips with a little added fat work well too. The key is choosing chocolate that will set firmly at room temperature while maintaining a glossy finish.
Essential Ingredient Notes
- Cake Mix Selection: Choose a moist, rich chocolate cake mix or use your favorite homemade recipe. Devil's food cake works exceptionally well for deep chocolate flavor.
- Frosting Quality: Use full-fat frosting for best binding and flavor. Cream cheese frosting creates a slight tang that balances the sweetness, while chocolate frosting intensifies the chocolate flavor.
- Coating Chocolate: Candy melts provide the easiest coating and come in many colors. For pure chocolate flavor, use high-quality chocolate chips with added coconut oil for smooth melting.
Mastering the Technique
The secret to professional cake pops lies in proper preparation and patience with chilling steps. Each stage of chilling ensures the structural integrity needed for beautiful results. Rushing these steps often leads to cake pops that crack or fall apart.
The dipping technique requires a gentle touch and proper chocolate consistency. The chocolate should be warm enough to flow smoothly but not so hot that it melts the cake ball. A slow, steady dip followed by gentle tapping removes excess coating for a clean finish.
Perfect Dipping Method
Dip straight down into chocolate, lift straight up, and tap stick gently on bowl rim. Rotate slowly to ensure even coverage, then immediately add decorations while coating is wet.
Chocolate Cake Pops
📋 Ingredients
For the Cake Base
- 680g chocolate candy meltsOr high-quality coating chocolate
- 30ml coconut oil or shorteningHelps chocolate flow smoothly
- 24 cake pop sticksFood-safe lollipop sticks
- Assorted decorationsSprinkles, mini chips, crushed cookies
- White chocolate for drizzlingOptional for decorative contrast
- Styrofoam blockFor drying and displaying
- Food coloring (optional)For tinting white chocolate coating
For Coating and Decorating
- 1 box chocolate cake mixPlus ingredients called for on box
- 450g chocolate frostingActs as binding agent
- Parchment paperFor lining baking sheets
- Deep microwave-safe bowlsFor melting chocolate coating
Instructions
Bake and Cool Cake
Prepare chocolate cake according to package directions and bake in a 9x13 inch pan. Cool completely, then crumble into fine crumbs using your hands or a food processor. You should have about 4 cups of crumbs.
Make Cake Mixture
In a large bowl, combine cake crumbs with 3/4 of the frosting. Mix thoroughly until mixture holds together when squeezed. Add more frosting if needed - mixture should be moist but not soggy.
Form Balls
Roll mixture into 1.5-inch balls (about 1.5 tablespoons each). Place on parchment-lined baking sheet. Refrigerate for 2 hours or freeze for 15 minutes until firm.
Melt Chocolate
Melt chocolate candy melts with coconut oil in microwave-safe bowl, stirring every 30 seconds until smooth. Dip each cake pop stick 1/2 inch into melted chocolate, then insert into cake ball. Return to refrigerator for 10 minutes.
Coat and Decorate
Dip each cake pop into melted chocolate, letting excess drip off. Add decorations immediately while chocolate is wet. Insert into styrofoam block to dry for 15 minutes. Store in refrigerator until ready to serve.
Recipe Notes & Tips
Storage
Store finished cake pops in the refrigerator for up to 1 week, or freeze for up to 3 months. Bring to room temperature 15 minutes before serving for best flavor.
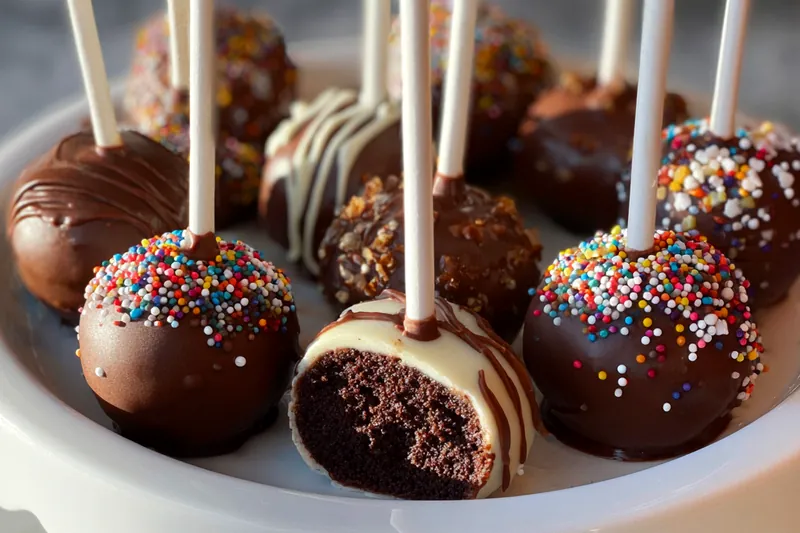
Decorating Ideas
Get creative with decorations! Try crushed cookies, toasted coconut, chopped nuts, or themed sprinkles. White chocolate drizzle adds an elegant touch.
Gift Presentation
Package in clear cellophane bags tied with ribbon, or arrange in a decorative box. Cake pops make wonderful gifts for birthdays, holidays, or special occasions.